Merge Tags Pro for Gravity Forms
Effortlessly craft custom merge tags for Gravity Forms.
Gravity Forms Add-ons
What does Merge Tags Pro do?
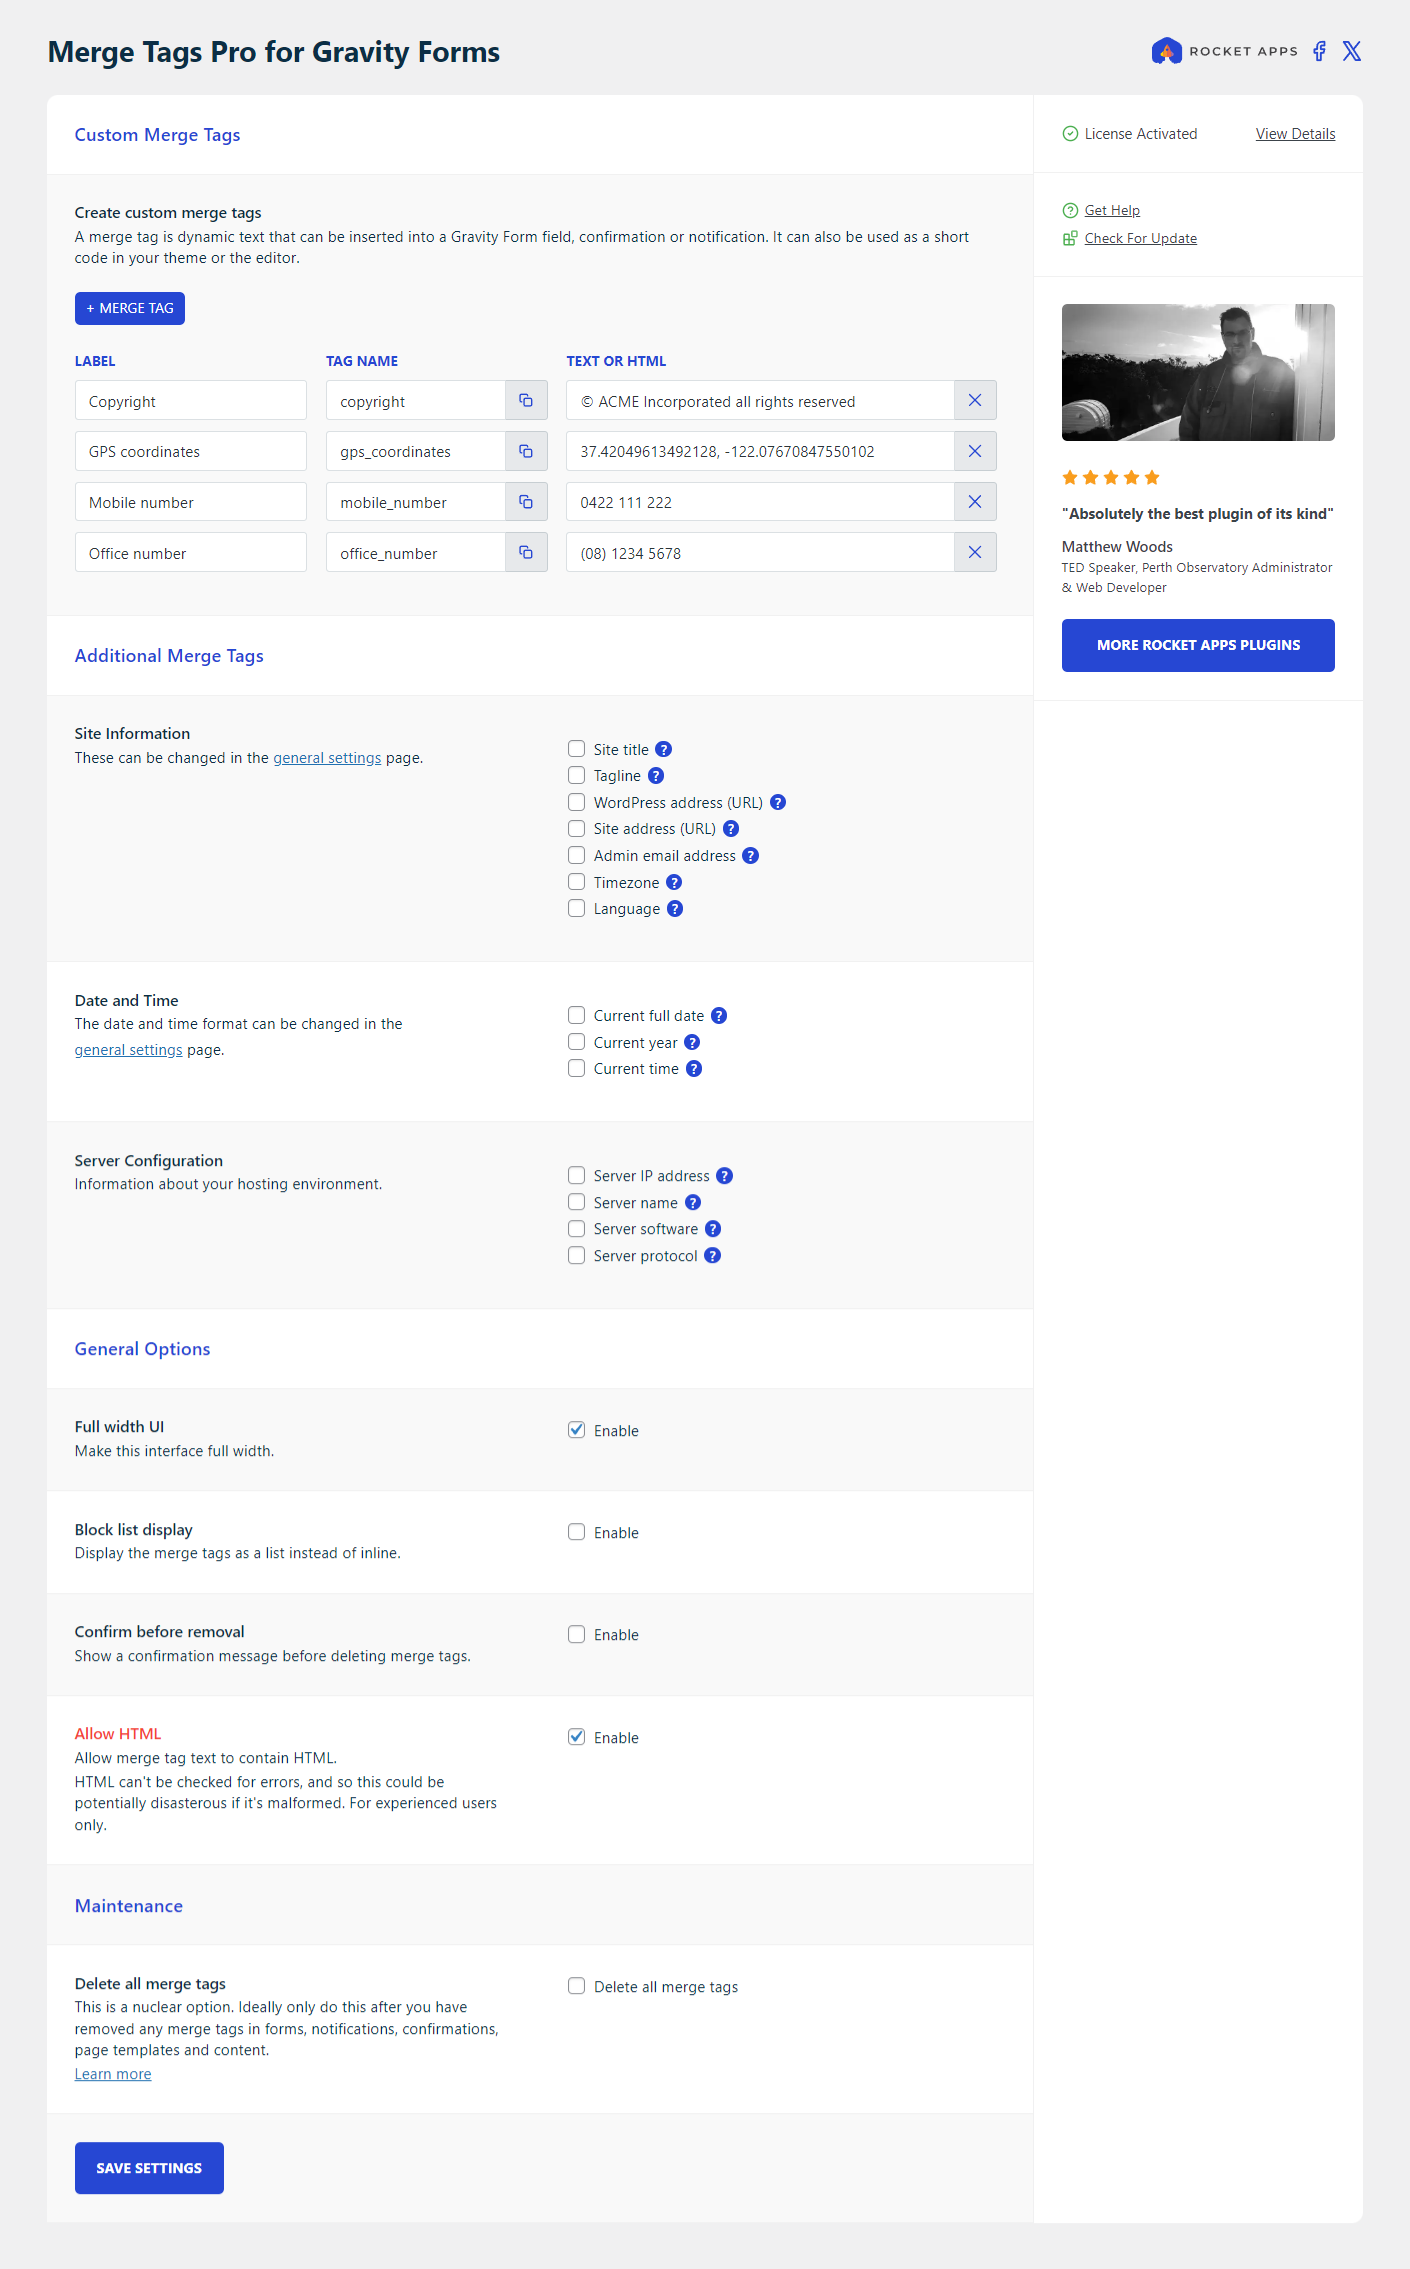
Merge Tags Pro lets you create custom merge tags for Gravity Forms, eliminating the need to write complex functions – or hire a developer – to achieve the same results.
Once set up, your custom merge tags can be used seamlessly in form fields, confirmations, notifications, theme templates, and even the editor (with full support for the block editor).
This is perfect for situations where you need to insert specific text or dynamic content across multiple forms and website areas, all while keeping everything easily manageable from a single interface.
How to insert your merge tags into a Gravity Form, Confirmation or Notification
Inserting your merge tags is accomplished in exactly the same way as with other Gravity forms, confirmations or notifications.
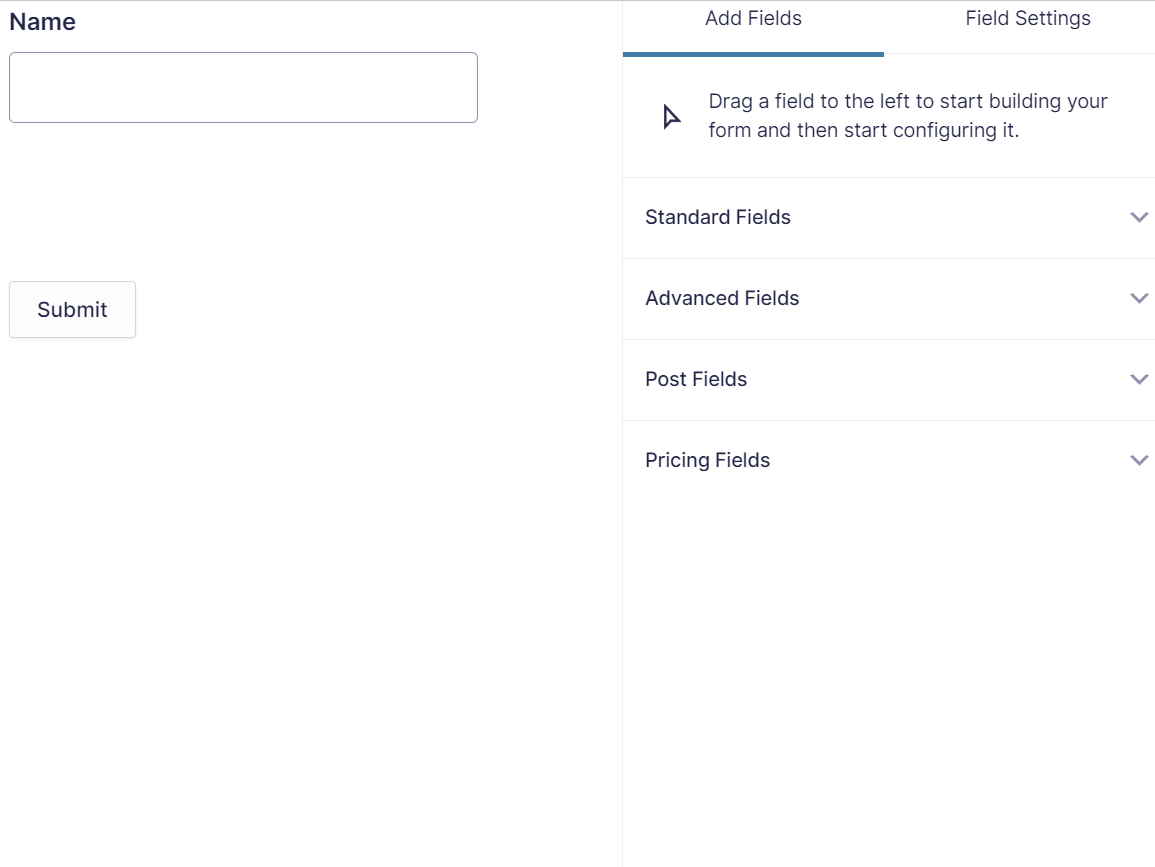
Adding a tag to a form field
Go click on a form field, then expand Appearance, click the merge tags icon next to Placeholder and scroll down to (or search for) Custom. Click on a marge tag to insert it.
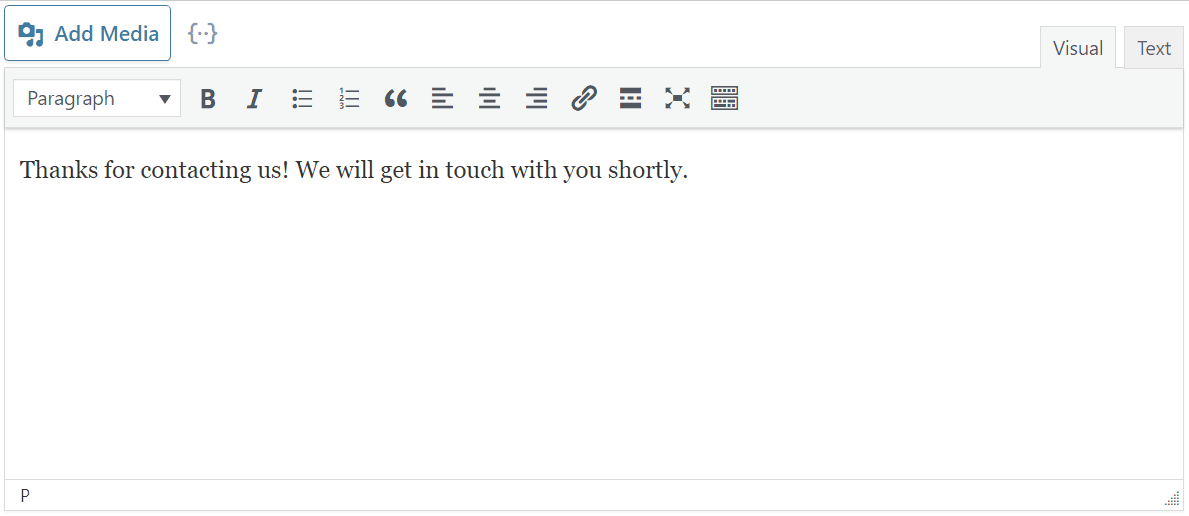
Adding a tag to a confirmation or notification
This is accomplished in almost the same manner. Click inside the editor where you want to insert your tag, then click the marge tags icon and select the tag you want to insert.
Using merge tags in the WordPress editor
Your merge tags can also be used in the WordPress editor using either the dedicated block, or manually paste in the tag as shortcode.
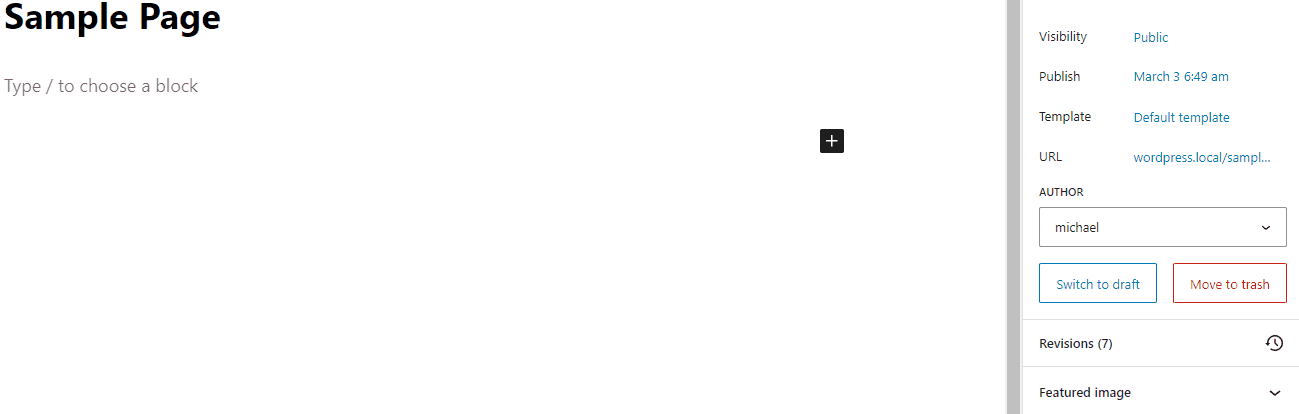
Using the block editor
Go to the editor and insert a block, click on Merge Tags and select a merge tag (or several):
Paste as a shortcode
Copy the merge tag name…

…and paste it into the editor (using either visual or text mode).
Using a merge tag as a shortcode in your theme
For developers, merge tags can also be used in your theme in the exact same way you normally do.
Using the tag name, add this PHP to your theme file:
if ( shortcode_exists( 'tag_name_here' ) ) {

echo do_shortcode( '[tag_name_here]' );

}
Note: There are no attributes available for the merge tags.
What happens if I delete a merge tag
If you delete any of the custom marge tags from the management interface, the tag will still remain anywhere you have used it (on form fields, confirmations, notifications, theme files etc), but, it simply won’t output anything.
For example, if you have a tag called company_name that displays ACME Incorporated and it is being used in a notification email, and you delete that tags from the management interface, then the confirmation email will only show company_name instead of ACME Incorporated.
This will not break your website in any way, but it’s still a minor inconvenience.
Note: This will also occur if you rename the tag name.
In this instance, you have a couple of options:
- If you intended to delete the merge tag, you will have to manually remove them anywhere they are being used, be it form field, confirmation, notification, content editor or theme template.
- If you did not intend to delete the tag, simply create it again with the same name and it will continue to function as it did before.
Your site functionality will otherwise be unaffected.
What will happen if the plugin is deactivated?
If you deactivate the plugin, all your merge tags will no longer work unless you activate the plugin again.
Until then, anywhere one of your merge tags appears will display the tag name instead (the same situation as described here).
Your site functionality will otherwise be unaffected.
Allowing HTML
When the option is enabled, Merge Tags Pro will allow HTML to be used for your merge tag content. While this opens up greater usefulness, it also comes with risks.
Malformed HTML can mess with the layout of your website, so always use the Validate HTML button before saving. If any issues are found when validating the HTML, the Save Settings button will be disabled unit they are corrected.

It’s also worth noting that even if your HTML is valid, it’s still possible to cause problems with the layout of your website if you don’t know what you are doing.
This feature is strictly for users who are experienced and confident writing HTML.
Where do I enter my license key?
In WordPress admin, click on Settings -> Merge Tags Pro in the left menu to enter your license key. Once entered and activated, you will be able to configure and start using Merge Tags Pro.
Where are the settings?
In WordPress admin, click on Settings -> Merge Tags Pro in the left menu.
Is the plugin price a one-time payment or an annual subscription?
The choice is yours.
Twelve months after your initial purchase you will have the option to renew your support license, but it’s not mandatory.
Should you decide not to renew your support license, your product will continue to function without any limitations. However, it won’t receive updates or be eligible for support until you renew.
Changelog
v1.3.0 (1st April 2025)
- Feature: Added new merge tags for current month and day.
- Improvement: Admin interface toggles.
v1.2.0 (9th June 2024)
- Feature: Block editor support.
- Improvement: New setting to allow HTML merge tags.
- Improvement: New setting to confirm before removing a merge tag.
- Improvement: New Server Configuration merge tags: Server software and Server protocol.
- Improvement: All duplicate tags are highlighted instead of just the new duplicate.
- Improvement: UI / UX tweaks.
- Fix: Issue that prevented tabbing into text field when managing tags.
- General maintenance: Updated admin user interface.
v1.1.0 (23rd March 2023)
- General maintenance.
v1.0.0 (March 13 2023)
- Initial release.


- Version: 1.3.0
- Updated: April 1, 2025
- Required: Gravity Forms 2.0
Shop With Confidence Get a refund within 30 days, no questions asked.
Help Topics
- What does Merge Tags Pro do?
- How to insert your merge tags into a Gravity Form, Confirmation or Notification
- Using merge tags in the WordPress editor
- Using a merge tag as a shortcode in your theme
- What happens if I delete a merge tag
- What will happen if the plugin is deactivated?
- Allowing HTML
- Where do I enter my license key?
- Where are the settings?
- Is the plugin price a one-time payment or an annual subscription?
- Changelog
