How to record time on a task
Time tracking on tasks is a breeze, provided that the Enable time option is activated within your WordPress admin settings.
Note: Each user can only record time on a single task at a time. If you are currently recording time on Task A, you can’t start recording time on Task B until you have stopped recording time on Task A.
How to record and manage your time efficiently
Enable Time Tracking: Ensure that the Enable time option is activated in your WordPress admin settings.
Record Time: To record time on a specific task that belongs to you, simply navigate to the task page and click Start working located in the right pane.
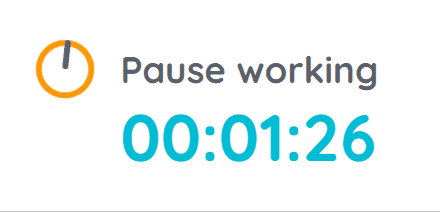
Pause and Manage: Once you’ve finished your work on the task, click Pause working to stop the timer.
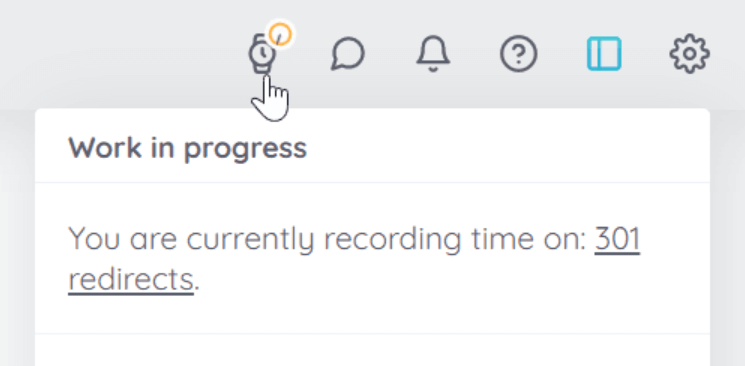
Please note that you can only record time on one task at a time. If you need to switch tasks, you can easily locate the task you’re currently tracking time for by clicking the animated timer in the upper right corner.
Since wProject version 1.4.0, a time log is automatically maintained, even if the task changes ownership.
Additionally, you have the flexibility to edit or delete any time entry, provided that you own the task or have administrator or project manager privileges.
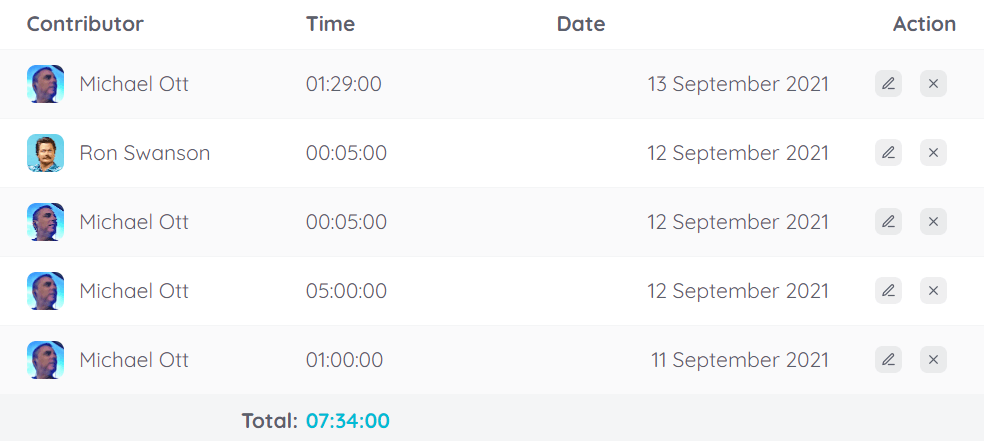
Note: When editing time entries, please be aware that seconds are automatically removed for your convenience.
How to use
- Permissions
- Task statuses
- How to create a task
- How to reassign a task
- How to change the status of a task
- How subtasks work
- How unowned tasks work
- How to reassign multiple tasks in a project to another user
- How to record time on a task
- What are Task Groups and how to use them
- Project statuses
- How to create a project
- How to edit a project
- How to transfer management of all your projects
- Why you should delete projects from the front-end
- How to enable the Kanban board
- What are Filter view URLs?
- How to switch between dark and light modes
- How to create a page
- Contextual help
